Chocolate Mousse (Chocolat Chantilly)
3 ingredients: chocolate, water (yes, water) and a little sugar

Published originally on my blog on 14 March 2013
I’m not a practitioner of molecular gastronomy; I am, frankly, scared of all the weird names, ingredients and techniques and I feel like I must have a PhD in chemistry to even read about it. And don’t let me get started on the liquid nitrogen. The thought of having it around me scares the shit out of me. I’m so clumsy, I could easily drop it on my hands and, you know, I’m kind of fond of my hands. Perhaps the only thing I would really like to give a go is sous-vide, if I can ever get the chance to have access to the equipment.
Olive oil powders and red wine spheres sound very cool, but I’m afraid I’m not interested in making them. Tasting them, absolutely. I saw this video the other day showing how to make spherical tzatziki and even though it sounds bizarre and not at all what a Greek would make in their kitchen, I’m curious about the taste and texture. I’m not going to buy sodium alginate any time soon though, so I’ll just have to admire the little spheres from afar.
So, when I found out about a technique developed by Hervé This, the father of molecular gastronomy, where you can make a chocolate mousse, or chocolate chantilly as This calls it, by simply whipping melted chocolate and water together, I thought this is perhaps my only chance to say that I too, practice molecular gastronomy.
I saw the technique a couple of years ago, watching a Heston Blumenthal program on tv and I was fascinated. I had my misgivings and it took me a while to finally bring myself to try it but you know what? It worked, and it was beautiful.
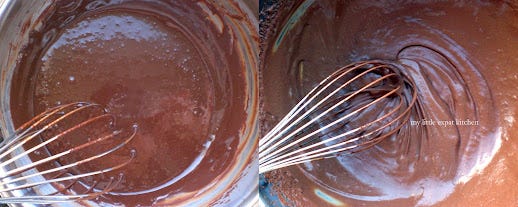
The process is extremely simple. You heat water and chocolate in a pan and you stir until the chocolate melts. You pour it into a bowl that’s been sitting on top of another bowl filled with ice cubes and you whisk the heck out of it until it turns into mousse. Very little can go wrong with this process and whatever does go wrong, can be easily fixed.
The result very much depends on the quality of the chocolate and the percentage of cocoa solids in the chocolate that you use. I experimented with different kinds of chocolates, from milk to dark with various percentages in cocoa solids, mainly from 55% to 72%, and what I realized is that first, milk chocolate doesn’t really work and second, the higher the percentage of cocoa solids, the easier and quicker the mixture comes together into a proper mousse.
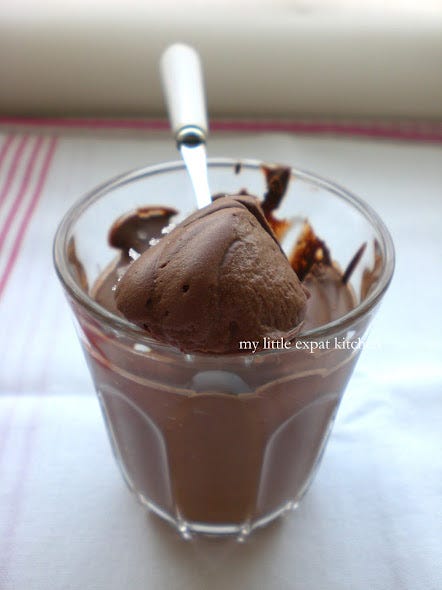
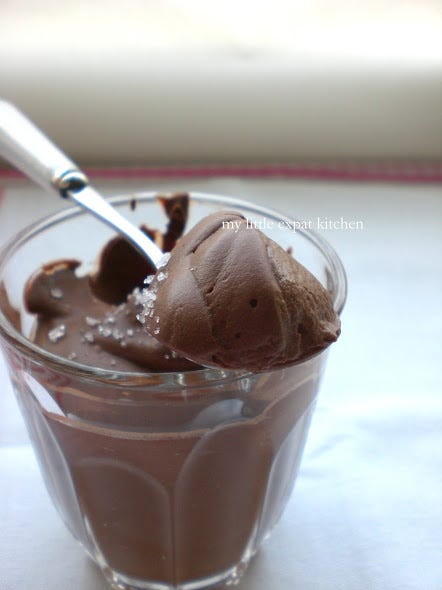
When I used the 55% cocoa solids chocolate, the result was more of a chocolate cream or pudding. No matter how long or hard I whisked, it didn’t turn into a mousse. What I had to do was reheat the mixture, add a little more chocolate and whisk again. When I used the 70-72% cocoa solids chocolate, everything worked perfectly. Every single time, the mousse came together effortlessly and rather quickly, and the texture was exactly what I wanted. A full-bodied, smooth and airy mousse.
There are ways to correct any mistakes you make along the way. If you overbeat the mixture and it becomes grainy, you can return it to the pan, melt it and start again. If it is too stiff, you can remelt it, adding a little more water as you do, and then whisk again. If it is too runny, you can return it to the pan, add more chocolate, remelt the mixture and whisk again.
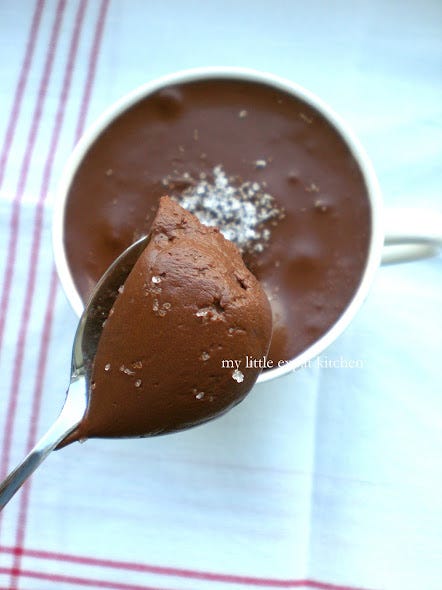
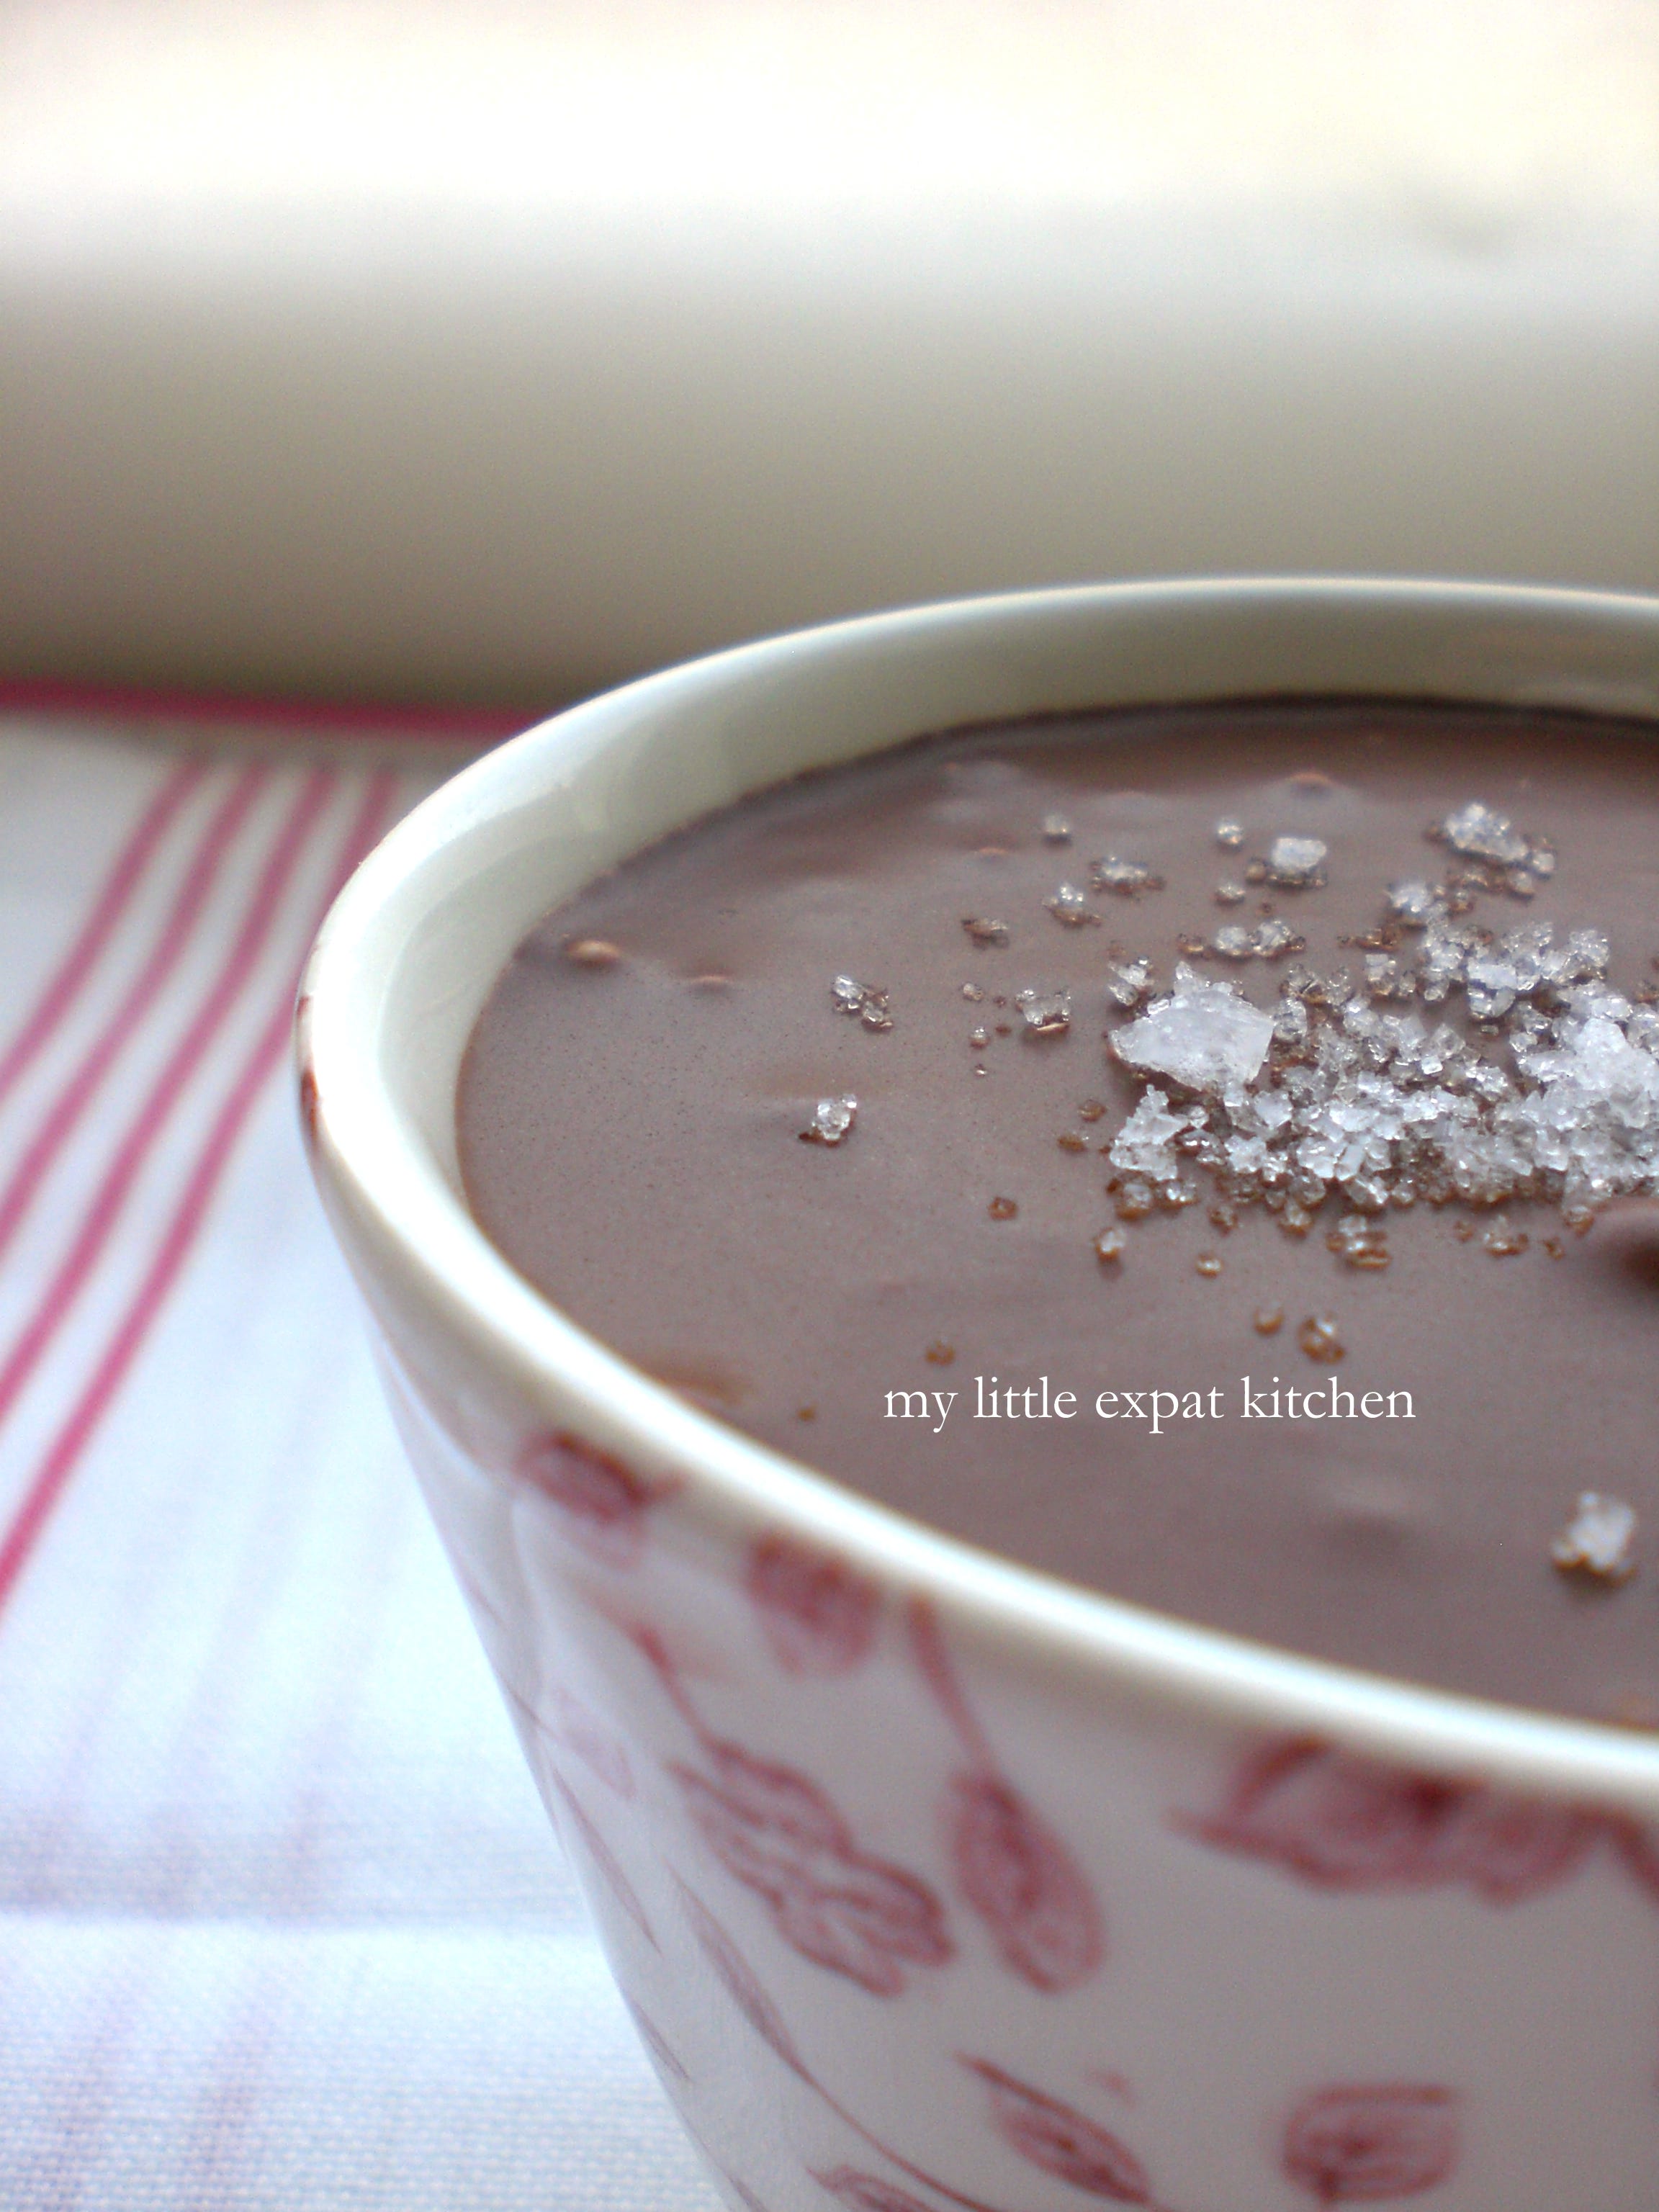
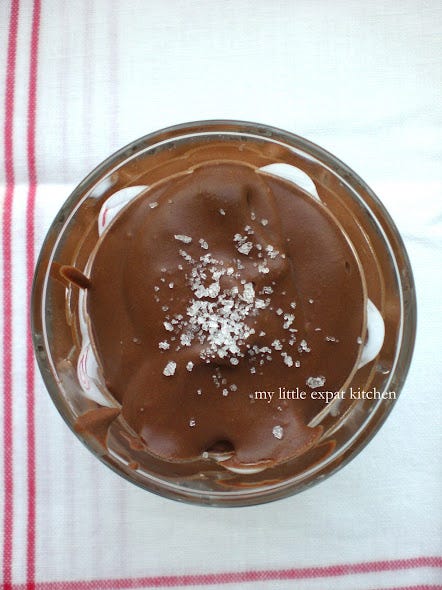
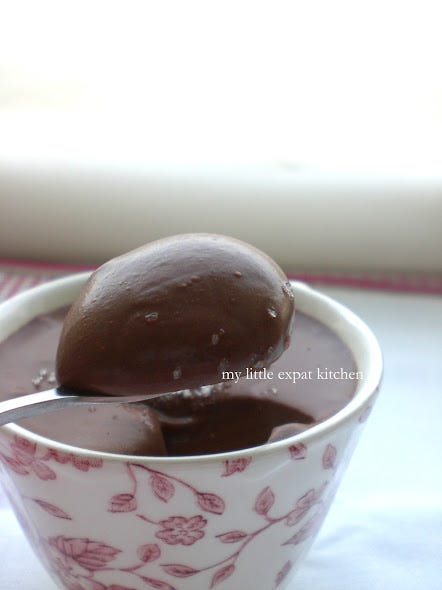
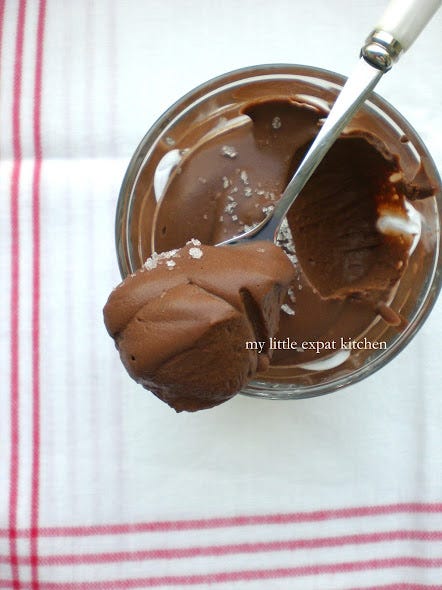
You can also flavor the mousse according to your liking, or sweeten it if bitter chocolate isn’t to your taste. Adding liqueurs, vanilla, coffee, or even spices, makes the mousse more interesting and adds another flavor dimension to it. My favorite version is with a simple addition of flaky sea salt, sprinkled on top just before serving.
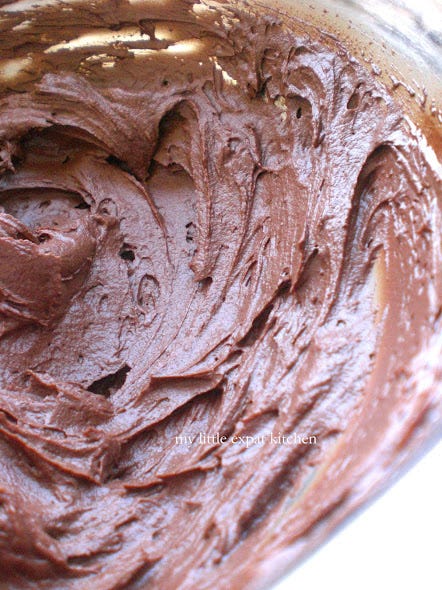
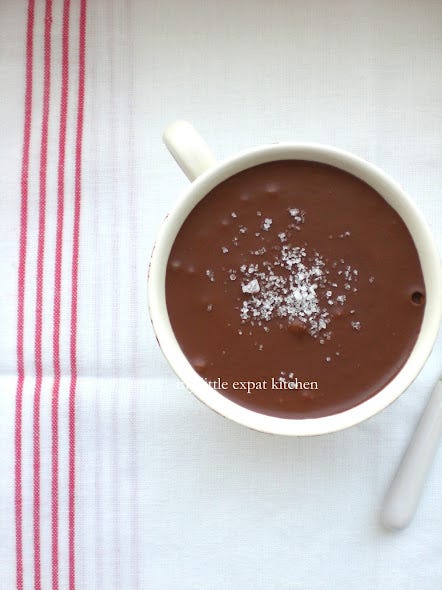
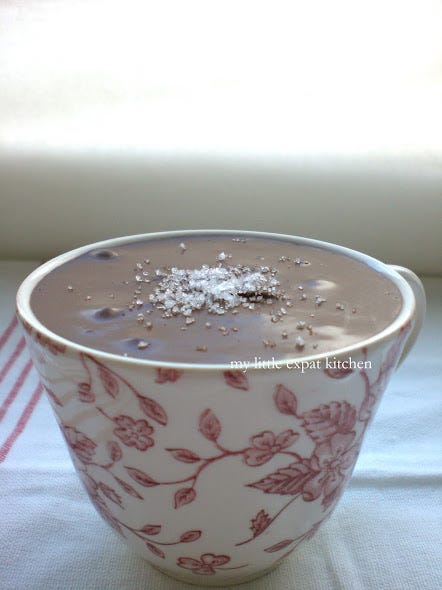
Pudding-like consistency when whipped less; still amazing
I’m addicted to this mousse. I’m addicted to the fact that it takes no more than ten minutes to make, that it is the most inexpensive mousse there is, that it has only two ingredients and one of them is water, that the result is the most amazing chocolate mousse ever. Being a chocolate fiend, this is my dream come true. Unadulterated chocolate flavor with a creamy, smooth and light texture and, very little work. Perfection.
Merci, Monsieur This.
Watch Heston Blumenthal’s video to understand the science behind this mousse.
Chocolate Mousse (Chocolat Chantilly)
Adapted from Molecular Gastronomy: Exploring the Science of Flavor by Hervé This
Don’t try whisking the mixture with an electric hand mixer or whisk unless you want to redecorate your kitchen; it will splatter on everything, not a good idea. Use a regular hand wire whisk and put some elbow grease. If you don’t have the strength to go on full speed the whole time (if all goes well it takes about 3 minutes for the mixture to turn into mousse), nominate an official helper and take turns. The secret to accomplishing the right texture is to whisk fast and without stopping, because the mixture gets cold quickly, it solidifies before you get the chance to whip air into it, and you end up with a stodgy cream rather than a mousse.
Keep in mind that with this technique, if you stop at different points while whisking, you can have a thick chocolate pudding that is simply divine and which I really love, a light, creamy mousse, or a thicker mousse. Try them all.
If you refrigerate the mousse for a couple of hours, it sets, and you can use it to fill cakes, profiteroles, éclairs, anything you can imagine.
If you want to add any other liquid in order to flavor the mousse, like a liqueur, then subtract that amount from the water so you end up with the same amount of liquid. (The amount of water in the recipe is 180 ml. If you add for example 10 ml of liqueur then you must add 170 ml water).
I always add sugar to the mixture because I prefer my mousse to be sweet, but if you enjoy the bitter flavor of the chocolate then skip it.
Yield: 4 small bowls or glasses
Ingredients
200 g good quality dark chocolate, 70-72% cocoa solids, chopped
180 ml water
3 Tbsp caster sugar
Fleur de sel (optional), for serving
Special equipment: large hand wire-whisk, two bowls
Preparation
In a large bowl, add enough ice cubes and cold water to fill it by two-thirds, and place a slightly smaller bowl on top. The top bowl must sit on top of the ice because you want it to be cold when your pour the chocolate inside.
In a small saucepan, add the chocolate, water and sugar, and heat over medium-low heat stirring with a whisk until the chocolate melts and you have a homogeneous and smooth mixture.

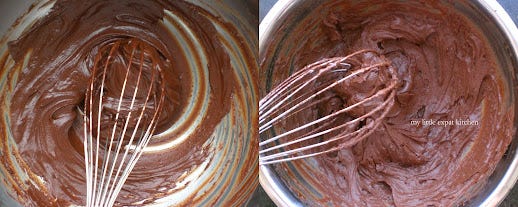
Immediately pour the mixture into the top bowl and using your hand wire-whisk, start whisking quickly. The mixture will start to thicken after 1 minute and it will take 3-5 minutes to have a thick mousse.
Keep an eye on the texture, you will actually feel it in your arms as it is thickening because it will be more difficult to whisk it. Be careful not to over-beat as it will become grainy. (I have of course mentioned the solution to the problem in the main body of this post).
When it’s ready, divide it between small bowls or glasses and serve it with a small sprinkling of fleur de sel, if you wish.
You can also serve it with whipped cream, shaved chocolate, cocoa nibs or nuts of your choice.
The mousse is best served the moment you make it; that’s when it has the best texture. But you can also keep it in the fridge for 2-3 days. Keep in mind that it will harden in the fridge. When you want to serve it, you must take it out of the fridge 30 minutes prior to serving.